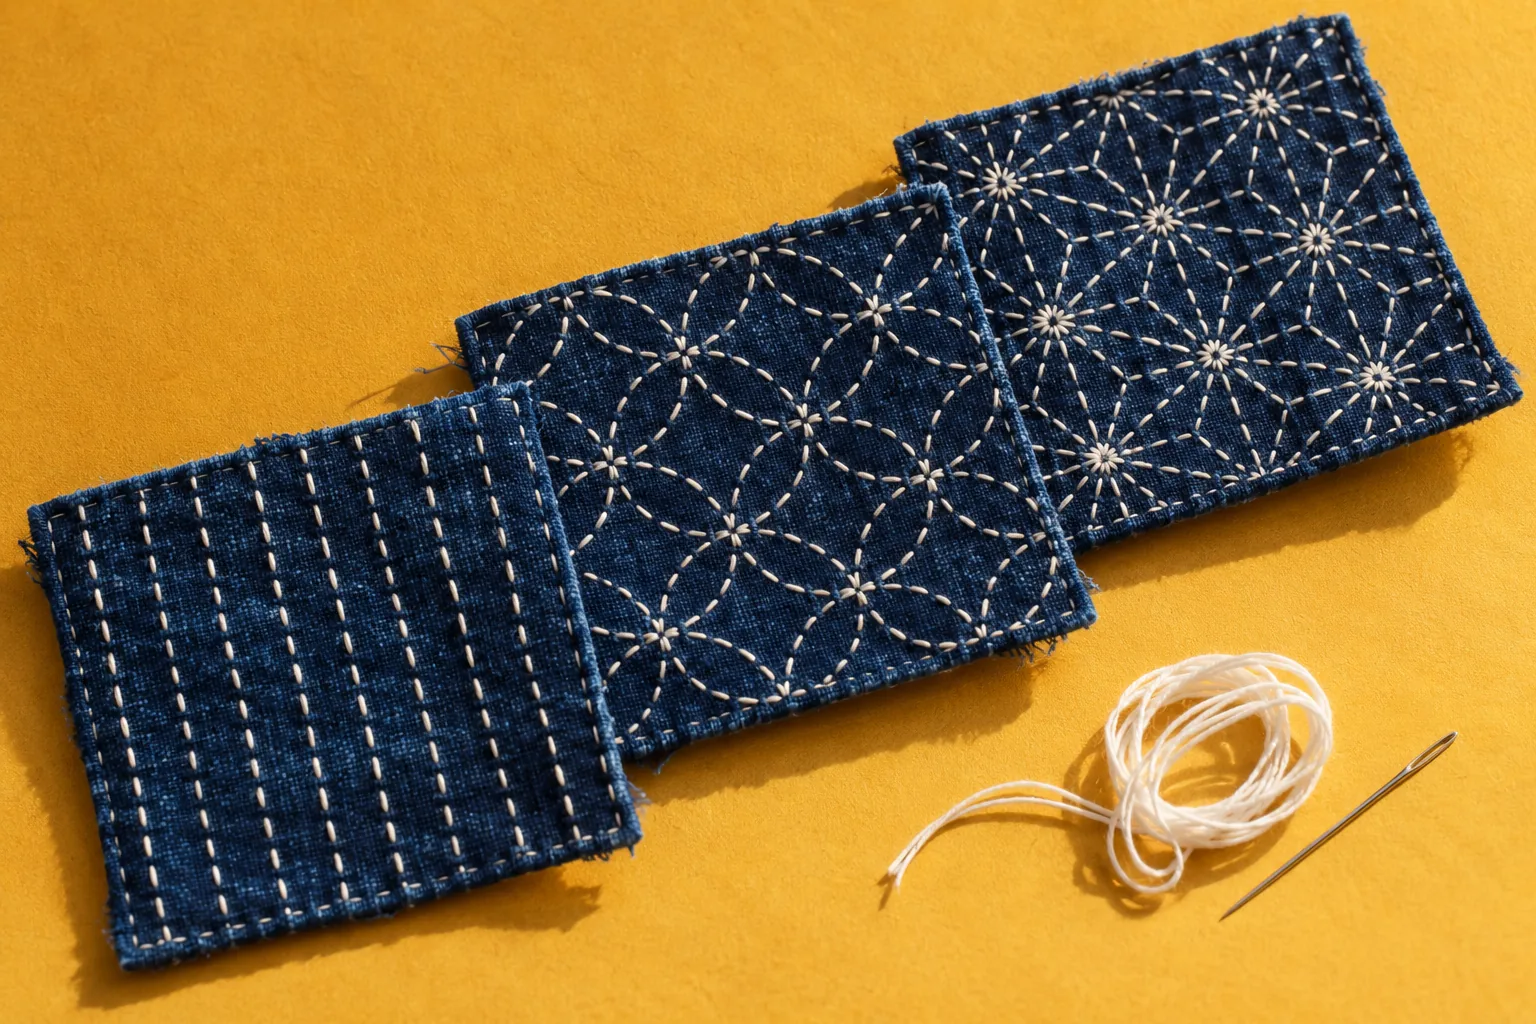
Sashiko patterns for beginners: a three-sampler learning order
This sequence is an editorial recommendation, not a traditional ranking. Pattern size, spacing, and instructions can change how demanding a design feels. Keep each practice piece small enough to finish a repeat and see what you would change.
1. Straight lines: stripes and connected crosses
Start with simple parallel stripes or juji tsunagi (connected crosses), marked with a ruler-drawn grid or a stencil and water-soluble pen. Concentrate on similar stitch lengths, with the visible stitches slightly longer than the gaps on the back. Smooth the cloth as you go instead of pulling until the fabric gathers. Leave the more complicated design you admire for a later piece.
If you pick juji tsunagi, note the route: Olympus describes stitching diagonally in a staircase from an edge to continue the thread through the pattern. Follow your pattern's route diagram rather than assuming you should finish every cross individually. Choose one straight-line exercise for this sampler.
2. Grids and diagonals: kaku shippo, yabane, and sayagata
For your second piece, try kaku shippo, yabane, or sayagata. These ask you to plan changes of direction and meeting points between lines. Trace the route with a finger before threading the needle. Notice where a line continues and where another direction starts.
Asanoha fits between this stage and curves. Its hemp-leaf shapes use straight lines, but many intersections need careful spacing. Choose it now if the grid feels comfortable, or return after your first curved piece. A design made entirely of straight lines is not automatically the easiest option.
3. Curves: Nowaki, shippo tsunagi, seigaiha, and hana-zashi
Try Nowaki's overlapping arcs, shippo tsunagi's linked circles, or seigaiha's repeated waves for your third sampler. Preprinted guidelines let you focus on turning gradually. Work a short stretch, settle the cloth, and inspect the curve before continuing. Do not measure progress by how many stitches you can load at once.
Hana-zashi is another curved option: Olympus describes continuous curves resembling flowers blooming across a surface. Keep it as an alternative if flowerlike forms appeal to you. You do not need to stitch every pattern family before choosing a design for an actual project.
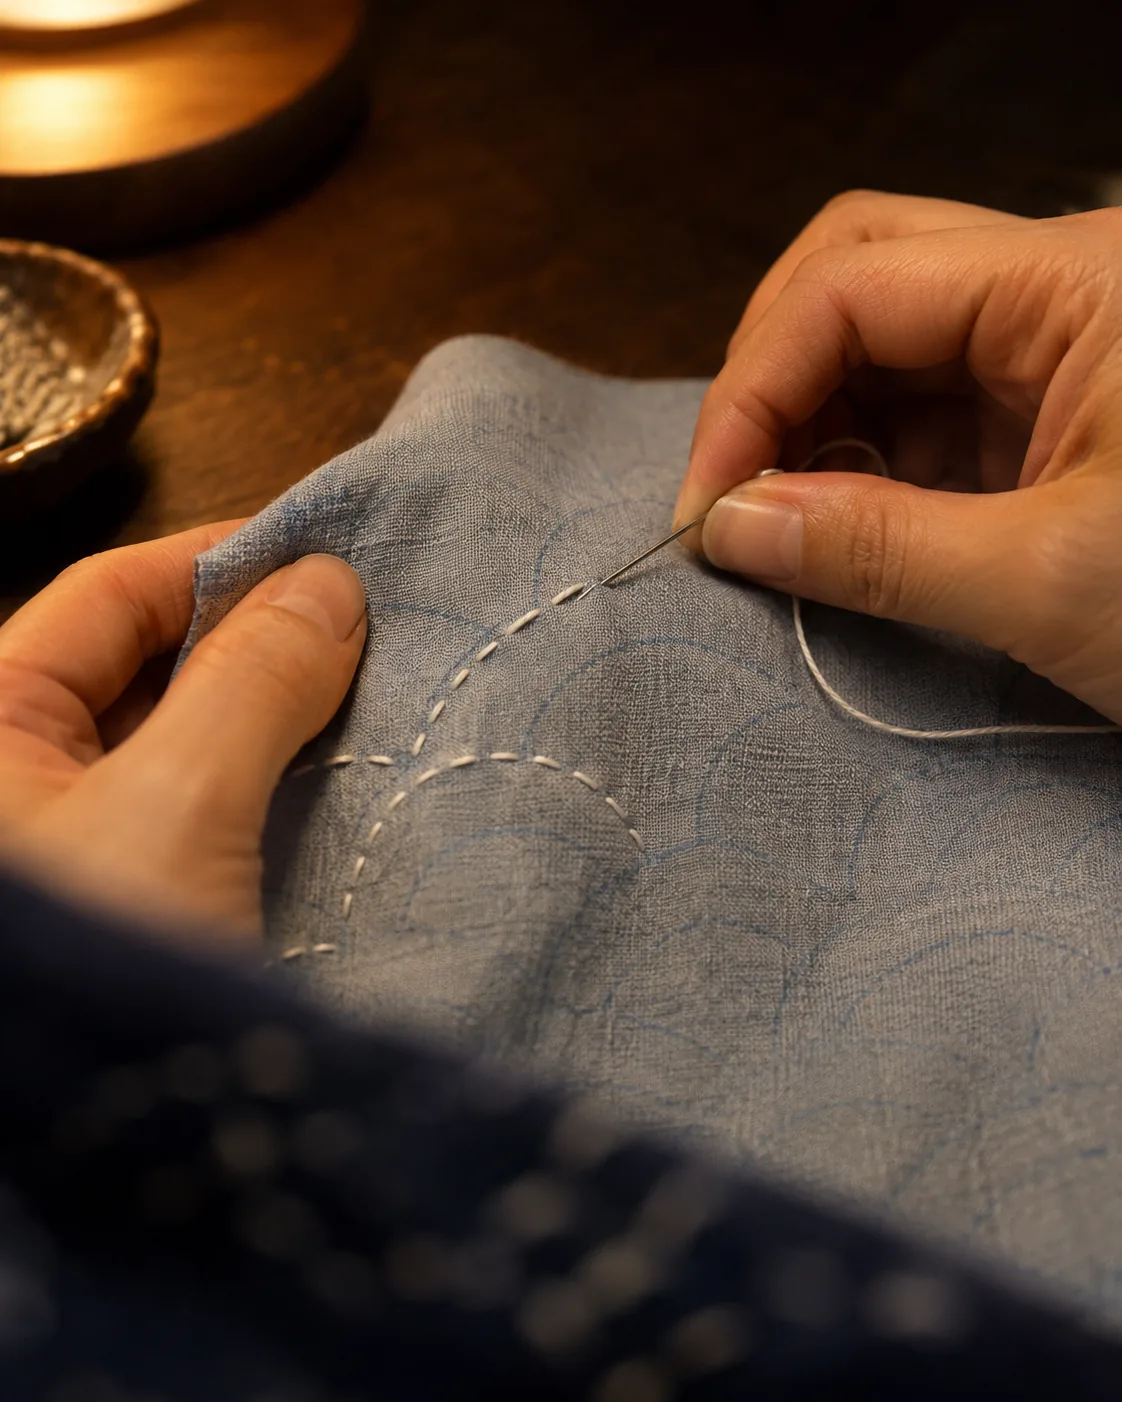
AI-generated editorial illustration; not a product photograph.
Eight traditional pattern names and their associated meanings
These descriptions follow Japanese sashiko thread maker Olympus. They are traditionally associated meanings, images, or histories, not promises of health, protection, or good fortune. Some names describe a natural form rather than a wish.
| Pattern | Association described by Olympus | Suggested practice |
|---|---|---|
| Nowaki (野分) | Wind blowing through field grasses, especially strong winds from autumn into early winter. | Overlapping arcs; a curved sampler. |
| Kaku shippo (角七宝) | Shippo refers to seven treasures named in the Infinite Life Sutra. | Grid-based second piece. |
| Yabane (矢羽根) | Arrow feathers, associated with protective arrows and the wish to fly toward happiness. | Diagonals and direction changes. |
| Sayagata (紗綾形) | An interlocking key-like repeat built from a broken manji (a Buddhist symbol), used as a ground pattern on imported saya silk in the Edo period. | Planning an angular repeat. |
| Asanoha (麻の葉) | Hemp leaves, associated with growing straight and strong and living connected with others; Olympus notes use on babies' clothing. | Spacing at many intersections. |
| Shippo tsunagi (七宝つなぎ) | Endlessly linked circles, associated with the world's treasures and an unending family line. | Repeated curves. |
| Seigaiha (青海波) | Ocean waves; Olympus also identifies the pattern on dancers' costumes in the gagaku piece Seigaiha. | Keeping repeated arcs consistent. |
| Hana-zashi (花刺し) | Continuous curves resembling flowers blooming across a surface. | A curved-line variation. |
Use these associations when choosing a design or explaining a handmade gift. Keep the attribution, especially when a short English label could turn a traditional wish into an unsupported claim.
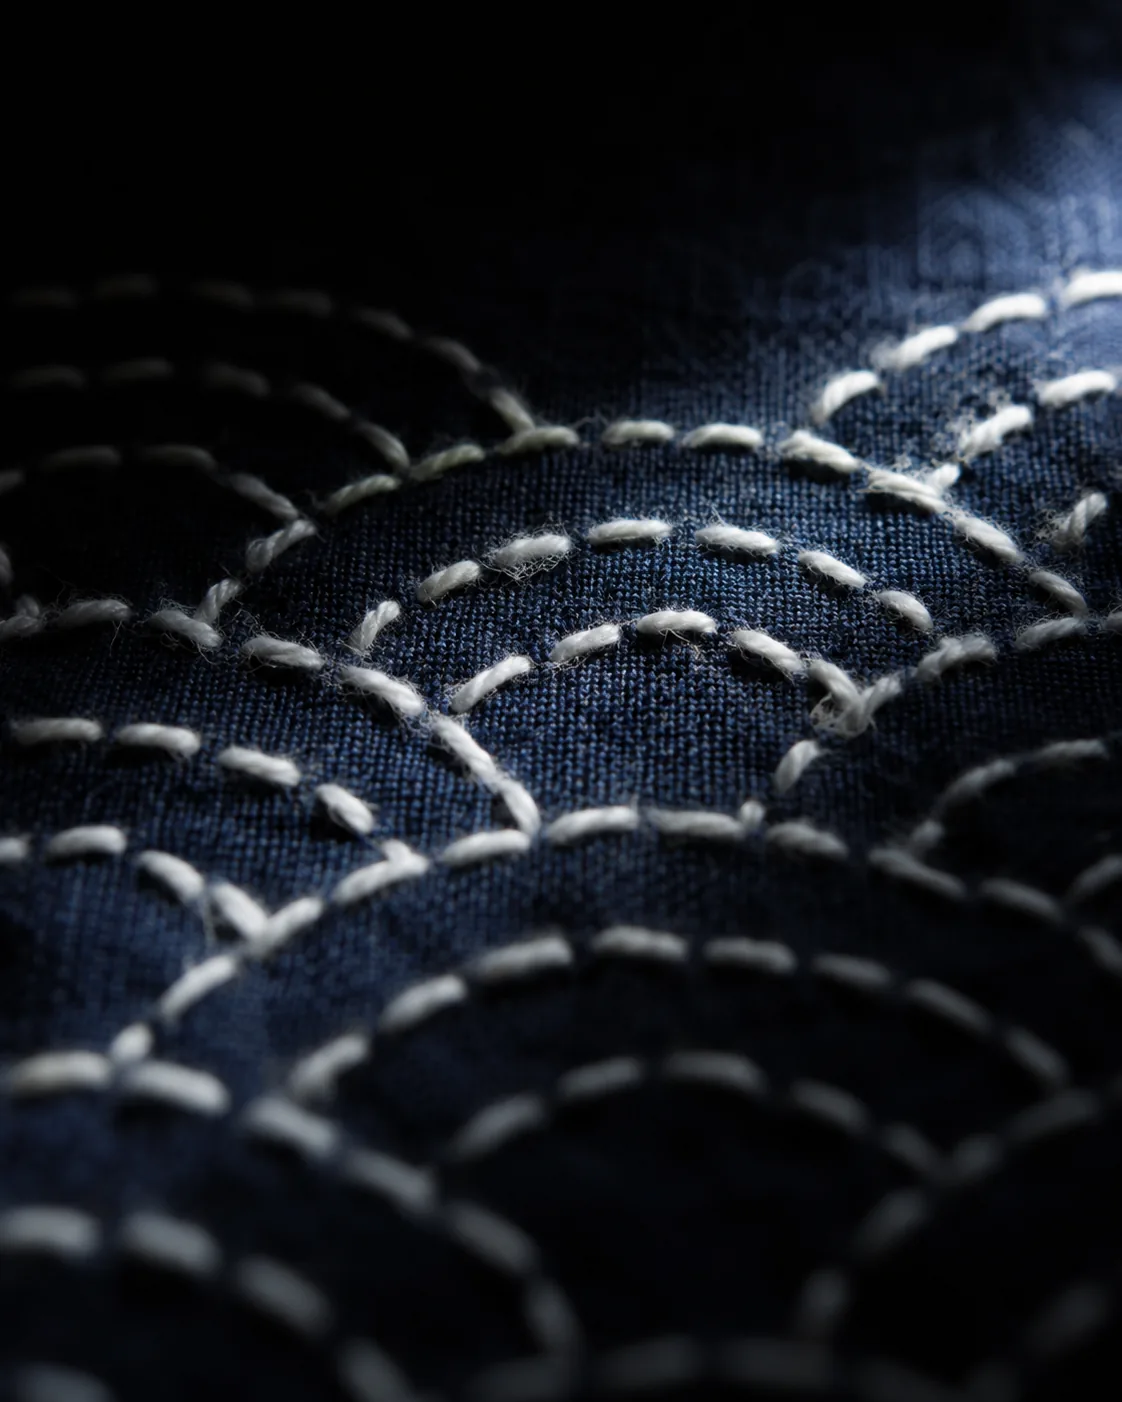
AI-generated editorial illustration; not a product photograph.
Three ways to put a pattern on cloth
Decide how much setup you want. Your first attempt can focus on stitching, drawing, or adapting a design to an object. It does not need to teach all three at once.
Preprinted cloth
Preprinted cloth keeps the route visible from the start. Check the pattern area and included supplies. Follow the panel's directions for removing marks: the Shippo Tsunagi listing says its printing washes out after stitching, but that statement does not apply to every printed cloth.
Stencil and water-soluble pen
Use a stencil to position repeats on your own fabric. Test the pen and its removal on a scrap of the same cloth before marking the project. Plan the joins at stencil edges before stitching, so neighboring repeats meet where you intended.
Draw your own grid
Draw your own grid if layout is part of the appeal. Start with a simple repeat and use a ruler for consistent guides. Draw a small test area first. Record the spacing if you want to repeat your version later.
A book template supplies a design; a stencil or pen is a transfer method. Check whether a book supplies a finished-size template or asks you to construct the layout. Simply Sashiko's listing describes actual-size templates, but you still need to choose a marking method for your fabric.
Match the pattern to the project
A small cloth or fukin
Choose a repeat you can finish and inspect easily. Stripes make a focused starting exercise; Nowaki or linked circles offer a next project for learning curves. Check the fabric dimensions before deciding how to fold the cloth or finish its edges.
A visible repair
Choose the patch position and coverage first, then fit the pattern into that space. A simple repeat around seams may fit better than a large central motif. This is a layout suggestion, not a claim that one decorative pattern makes a stronger repair. Use the repair guide below for the practical workflow.
A decorative panel or gift
Let the motif and its associated meaning guide your choice. Asanoha could accompany a note about its traditional wishes; seigaiha may appeal to someone who enjoys wave forms. Plan the visible area before transferring the pattern so framing does not hide the part you wanted to show.
Three common problems to watch for
Thread bunches at intersections
Pause before a crowded meeting point and leave room for the lines to remain readable. Avoid pulling hard at corners and intersections. Smooth the cloth and inspect the front before adding more stitches, rather than trying to tighten everything at the end.
Stitches become uneven on curves
Slow down and take fewer stitches at a time while learning the turn. Compare each short section with the guide instead of forcing it into a straight-line rhythm. Try the curve in your small test area before committing to the whole panel.
The repeat is too large
Preview a complete repeat inside the intended area before marking everything. If most of a leaf or wave gets cut off, try another layout or a simpler pattern. A small finished sampler gives you a useful basis for choosing the next project.
What to read next
For tools and the starting workflow, read the sashiko beginner guide. To distinguish a cloth project from a thread-only purchase, use the sashiko kit guide. For adapting stitches to clothing, continue with sashiko visible mending.
Quick answers before you choose a pattern
Which sashiko pattern should I stitch first?
Start with simple stripes or connected crosses on a small piece, then try a grid or diagonal design, followed by curves such as Nowaki or shippo tsunagi. This practice recommendation separates even stitching from steering curves. Follow the instructions supplied with your pattern.
Do I need a preprinted sampler?
No. A stencil and marking pen, a traced template, or a hand-drawn grid are other options. Preprinted cloth suits a stitching-first approach. Check what is included before treating any sampler as a complete kit.
Does every pattern have a good-luck meaning?
No. Olympus describes wishes for some designs, while others refer to natural forms or decorative histories. Explain each association individually. A traditional wish is cultural context, not evidence that stitching produces a particular outcome.
Sources & method
Primary references
- Japanese sashiko thread maker Olympus — traditional pattern introduction: pattern names, associations, and the connected-cross route.
Listing details were checked on Amazon on November 13, 2026. The five product links above identify those listings. No products were tested for this article. Confirm current contents, variations, and availability before purchasing. Practice order and project suggestions are editorial guidance. Images illustrate concepts, not listed products or stitch-by-stitch diagrams.
Affiliate disclosure: As an Amazon Associate I earn from qualifying purchases.