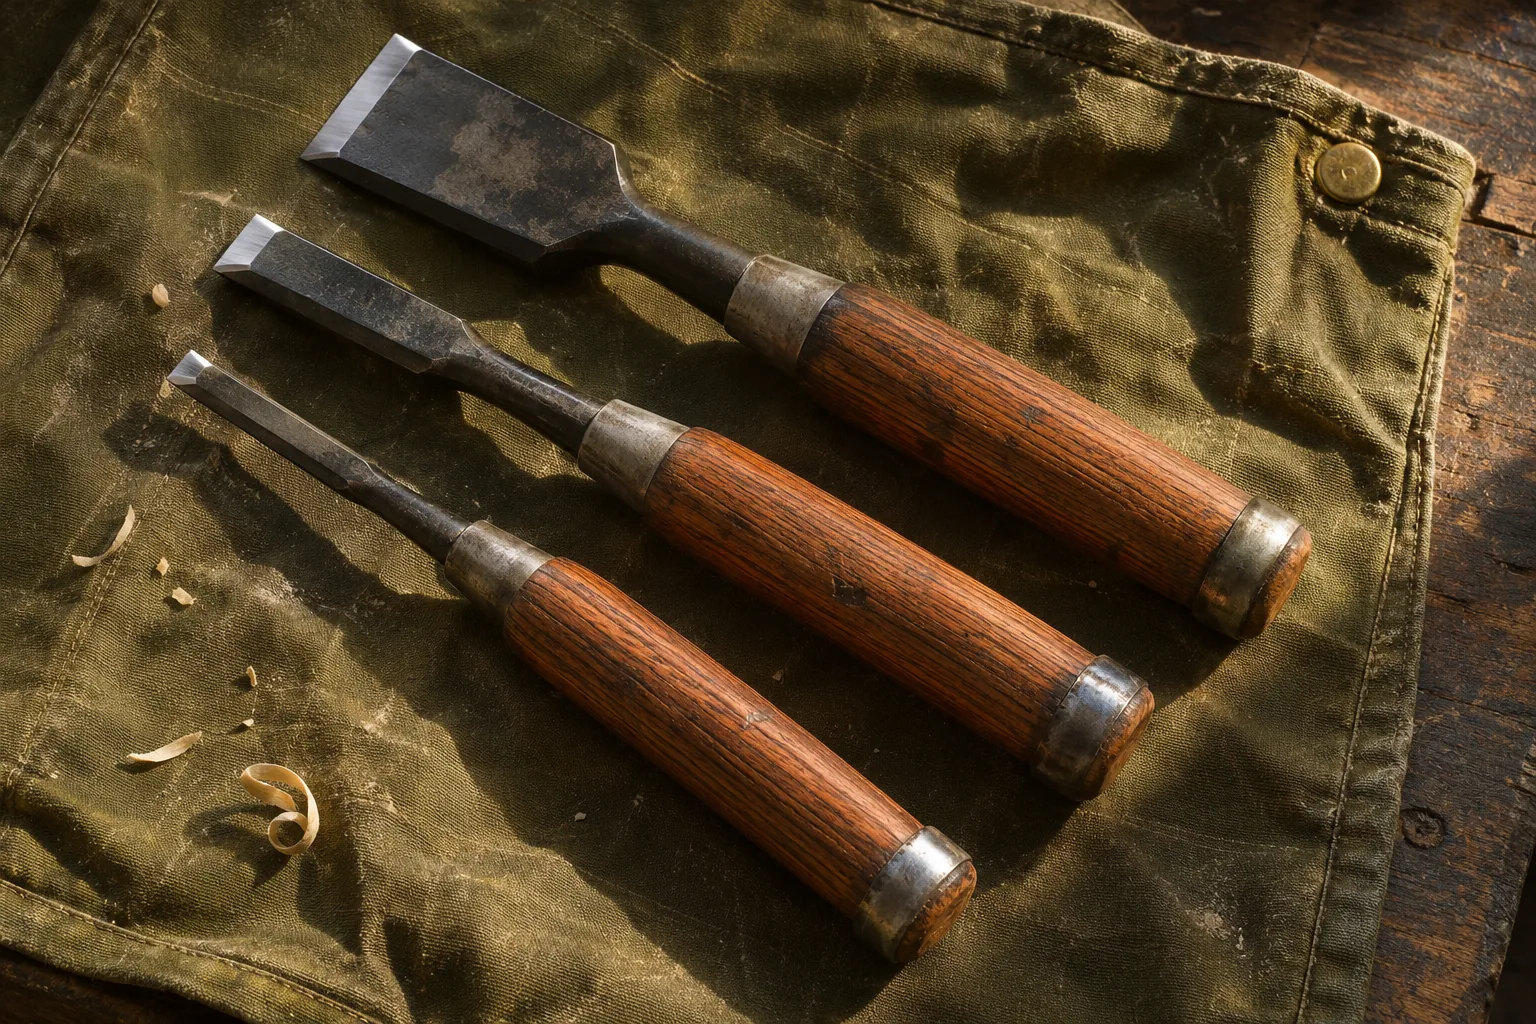
Understand the parts before comparing steel
A Japanese bench chisel has five parts worth knowing before you read a listing: the blade, the neck, the ferrule where the neck meets the handle, the wooden handle, and the hoop at the end. KAKURI, a tool company headquartered in Sanjo, Niigata, explains that an oire nomi is built for hammer striking and has a metal hoop, or katsura, reinforcing the handle.
The Miki cooperative describes chisels as a steel cutting edge forge-welded to a soft iron body, with handles of oak and similar woods. Separately, KAKURI explains that its Japanese chisels join soft and hard steel, while it also makes Western-style chisels entirely of steel. These explanations provide context; check the exact linked listing for the tool you are considering.
The SUIZAN listings describe the blade only as "premium alloy steel." They do not say whether it is laminated or how the back is shaped. Ask the seller before buying if either detail matters to you. The illustration below shows a shallow hollow as an editorial example, not evidence about a SUIZAN blade.
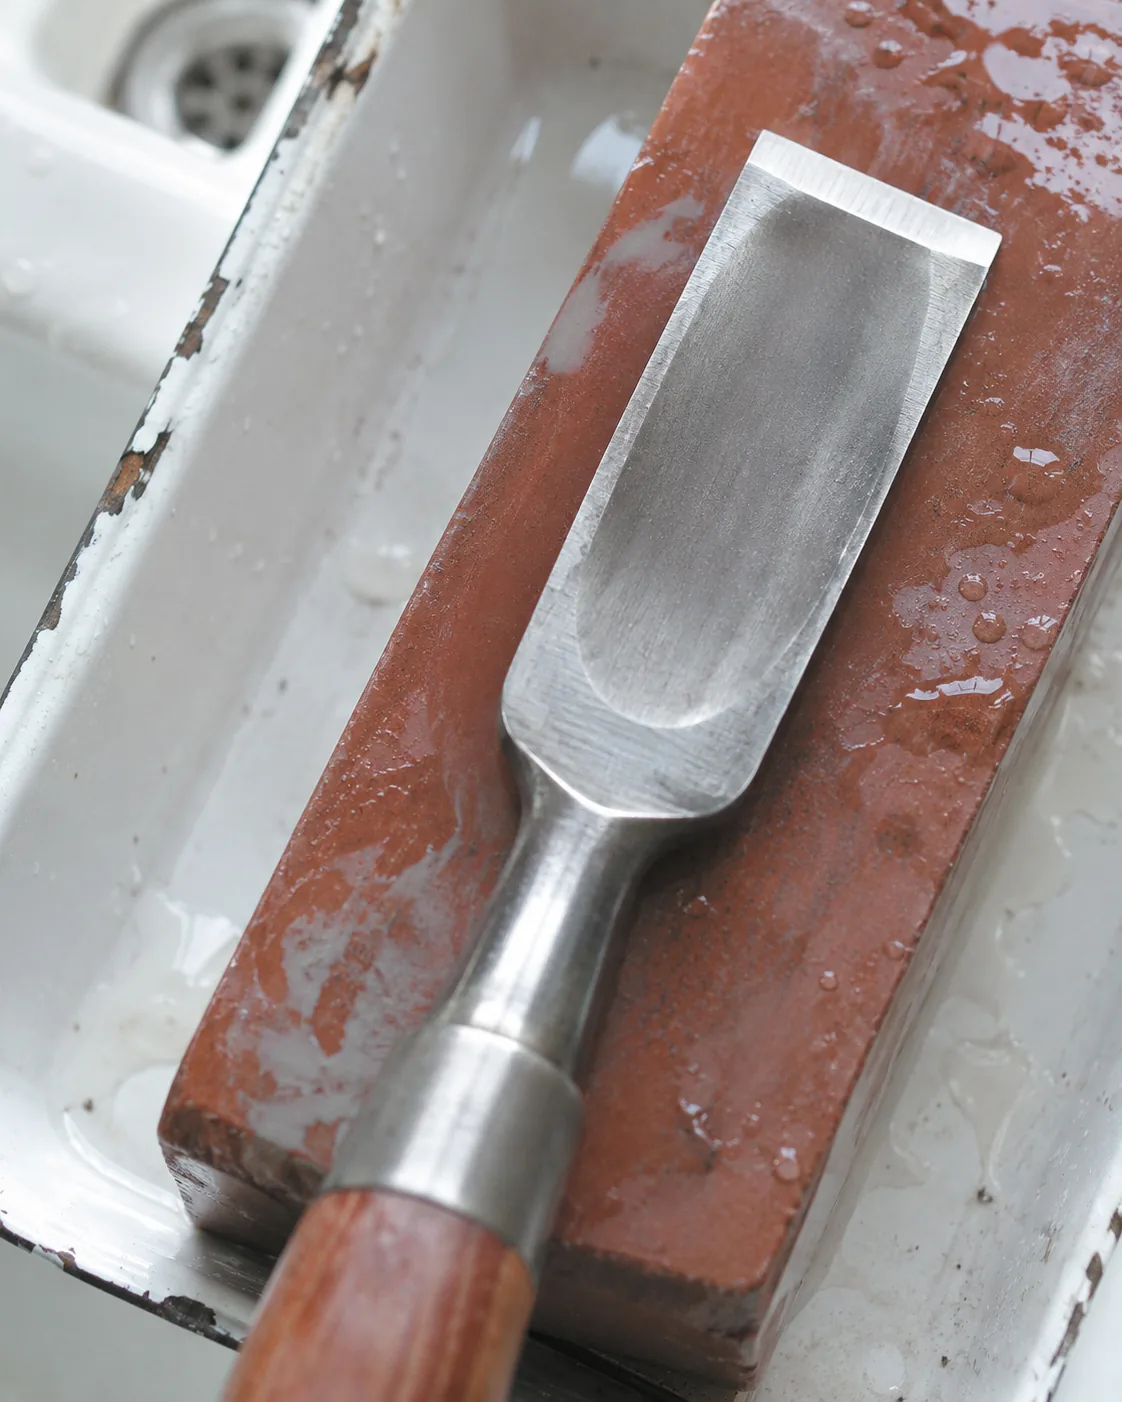
AI-generated editorial illustration; not a product photograph.
Japanese chisel types: start with the job
The uses below follow KAKURI's chisel guide. The final column is our editorial advice. For striking suitability, follow the individual tool's instructions rather than assuming every type can be used like an oire nomi.
| Type | What it is for | Struck or not? | As a first chisel |
|---|---|---|---|
| Oire nomi | Shallow holes and general joinery | Built for striking; reinforcing hoop | Our general starting choice |
| Mukomachi nomi | Narrow, deep mortises | Confirm the tool's instructions | Wait for that specific job |
| Atsu nomi | Large, deep holes | Confirm the tool's instructions | A project-specific choice |
| Usu nomi | Paring and finishing confined areas | Not struck; no hoop | Wait for a defined finishing need |
| Shinogi nomi | Finishing narrow areas; triangular cross section | Confirm the tool's instructions | A specialist to consider later |
Choose your first widths from what you want to make
This site's suggested widths follow how the SUIZAN listings describe their uses. They are not a traditional rule or a required set. Inch equivalents are rounded; compare the stated millimeter width with your project.
| First project or task | Suggested width | Basis for our suggestion |
|---|---|---|
| Small boxes and dovetail corners | 6 mm (about 1/4 inch) | The listing describes small joints, narrow mortises, and dovetail corners |
| Furniture mortises, tenon shoulders, hinge recesses | 12 mm (about 1/2 inch) | The listing calls it common for furniture and describes mortises and tenon shoulders; hinge recesses are our editorial extension |
| Wide joints and paring broad surfaces | 24 mm (about 15/16 inch) | The listing describes wide mortises and paring tenons and housings |
Begin with the middle width
Our default is the 12 mm (about 1/2-inch) oire nomi. Plan around one joint before adding another width.
Add the narrow option
Choose the 6 mm (about 1/4-inch) route when the small joints described in its listing match your plan.
Add the wide option
Compare the 24 mm (about 15/16-inch) choices when your planned work calls for the wide role.
Five things to check in the listing
Blade construction: Look for an explicit statement about joined materials or all-steel construction. KAKURI's listings state lamination; SUIZAN's leave that question unanswered. A steel name alone does not settle it.
Back shape: Both KAKURI listings say "hollow ground." SUIZAN's descriptions do not specify the back. Use the actual wording rather than borrowing a feature from another brand or an illustration.
Handle hoop: Check that the listing describes a hoop and intended striking use. Then check setup instructions. A visible ring does not confirm that the tool is ready for its first blow.
Width: Match the chosen variant to the joint. All three wide alternatives here are 24 mm (about 15/16 inch), even where a listing rounds the inch label differently.
Country of manufacture: All five linked listings say "Made in Japan." That does not establish a town of manufacture or traditional-craft designation. Keep origin wording separate from regional history.
Before use: check the katsura hoop
KAKURI explains that the hoop reinforces the wooden handle against splitting during striking. Its hoop article says, "New Japanese striking chisels need to have the hoop adjusted." The aim is for the hammer to contact the wood rather than the metal ring.
In outline, KAKURI describes gently tapping off the hoop while noting its orientation: the side entering the handle is wider. Smooth the inside with a file if needed, refit it, and tap evenly while rotating it to lower it about 2–3 mm (about 0.08–0.12 inch). Then gradually tap the projecting wood outward over the hoop. Avoid removing too much wood.
This is only an overview. Read KAKURI's full hoop-adjustment procedure and follow the maker's instructions. Neither that article nor the linked listings say whether a given chisel arrives with the hoop already set. Check the hoop when it arrives before deciding what adjustment is needed.
Miki's chisels and Banshu Miki uchihamono
The Miki cooperative says chisels were in wide use by the Nara period and records chisel smiths in Miki in the Bunsei era, in the early nineteenth century. Its description of a soft iron body forge-welded to a steel edge, with an oak or similar wooden handle, belongs to that account of chisel making.
The cooperative identifies Banshu Miki uchihamono as a Traditional Craft designated by the Japanese government in 1996. It includes saws, chisels, planes, trowels, and small knives. KOGEI JAPAN places this tradition in the Miki area of Hyogo Prefecture and notes that chisel blades have thin edges, so too much heat weakens them.
Keep that craft history separate from the products linked here. Their listings say "Made in Japan"; they do not establish Miki manufacture or designated-craft status. We do not present any of these five chisels as Miki-made, Banshu Miki uchihamono, or designated traditional craft pieces. KAKURI's Sanjo headquarters also does not establish an individual chisel's manufacturing location.
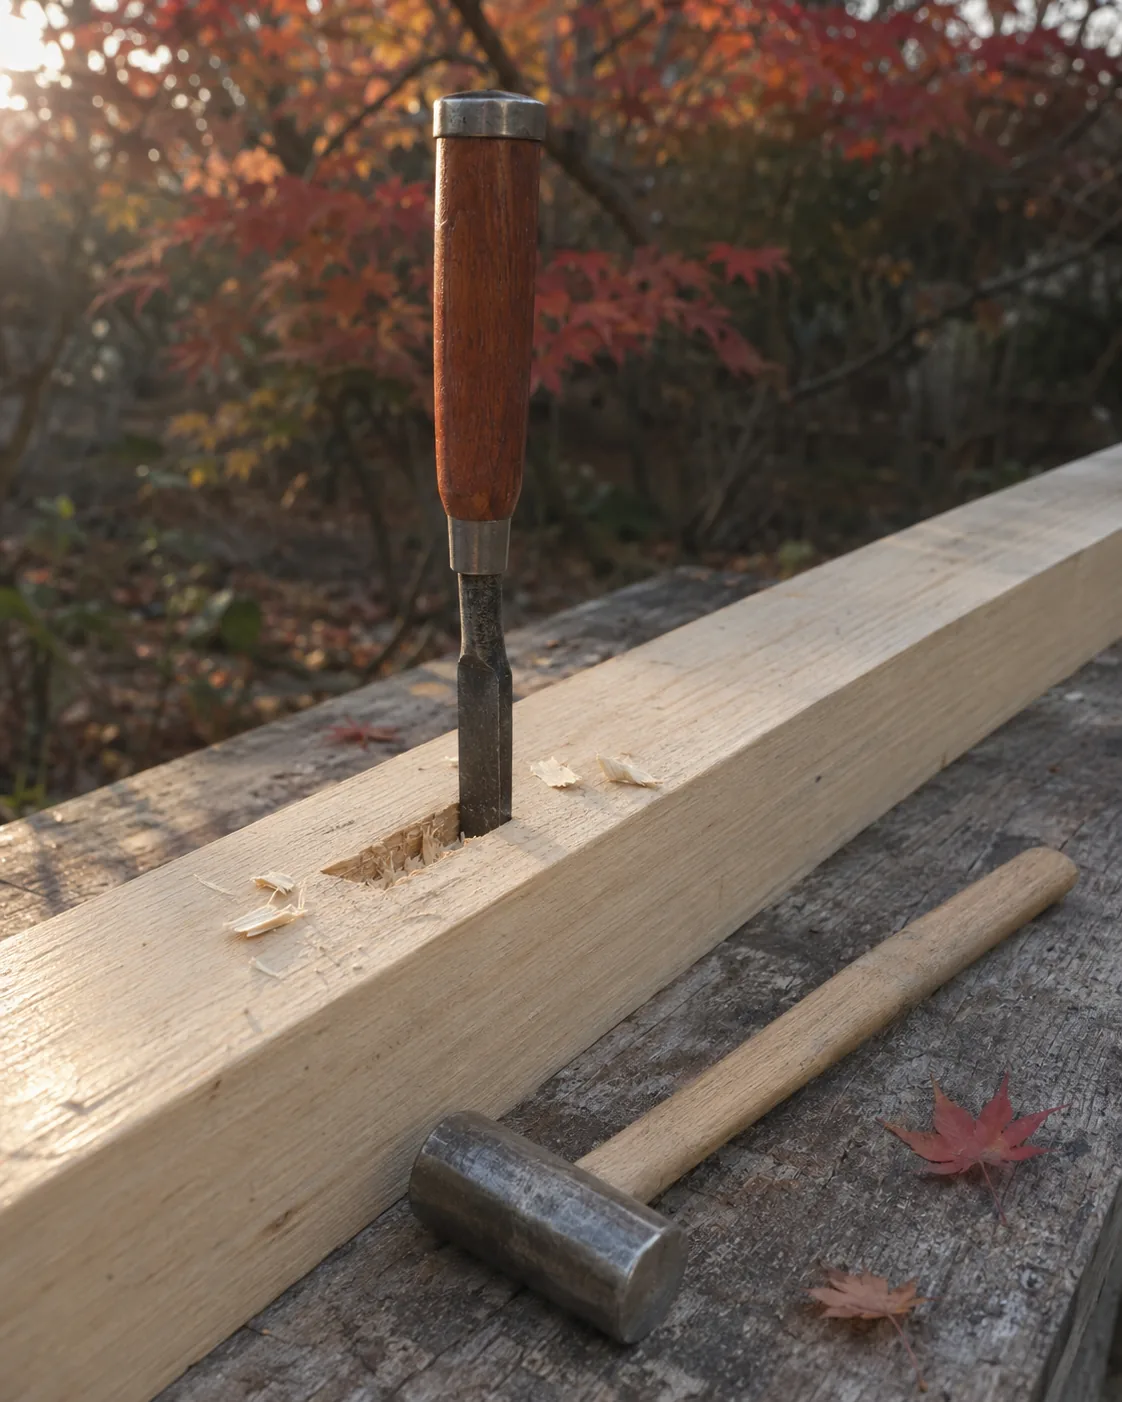
AI-generated editorial illustration; not a product photograph.
Keep the first sessions controlled
Clamp the work and keep both hands and your body behind the cutting edge. KAKURI advises taking thin cuts of about 2–3 mm (about 0.08–0.12 inch). Do not twist a chisel that is stuck. Follow the tool maker's instructions rather than forcing a difficult cut.
KAKURI also advises covering the edge when not in use, storing the tool somewhere dry and cool, avoiding contact with the edge, and not using a damaged or loose chisel. Cap the edge before putting it away and keep chisels out of reach of children. These general reminders are not a complete practical lesson.
What to read next
Read our Japanese pull saws for beginners guide for another woodworking tool choice. The Japanese kitchen knife types guide considers a different family of cutting tools. Planes (kanna), sharpening stones, and sharpening technique are separate topics; there is no buying advice or sharpening instruction for them here.
Quick answers before you choose a chisel
What is an oire nomi?
KAKURI describes it as a bench chisel for shallow holes and general joinery, built for striking and fitted with a reinforcing hoop. That general role makes it our starting suggestion.
Do I need a set of Japanese chisels?
Our suggestion is two or three widths chosen for real projects, buying in stages if helpful. The 6, 12, and 24 mm (about 1/4, 1/2, and 15/16 inch) route is editorial advice based on listing uses, not a required combination.
Can I hit a Japanese chisel with a regular hammer?
KAKURI describes oire nomi as made for hammer striking. SUIZAN's listings specify a mallet or Japanese hammer, or genno. Follow the exact maker's instructions and check the hoop first; this is not permission to strike every Japanese chisel. KAKURI's hoopless usu nomi is not a striking tool.
Sources & method
Primary references
- Miki cooperative — chisels (Japanese): Historical use, Miki smiths, construction, and handles.
- Miki cooperative — Miki metal tools (Japanese): Designation and categories.
- KOGEI JAPAN — Banshu Miki uchihamono: Production area and thin-edge heat caution.
- KAKURI — how to use Japanese chisels: Types, uses, striking, and care.
- KAKURI — the katsura hoop: Purpose and adjustment procedure.
- KAKURI — oire nomi chisels: Joined materials and all-steel alternatives.
Listing details were checked on Amazon on November 18, 2026. No products were tested for this article. Width choices are editorial suggestions. The Miki cooperative pages are in Japanese. Illustrations are not photographs of the linked products.
Affiliate disclosure: As an Amazon Associate I earn from qualifying purchases.